
That Meeting Could Have Been a Clip: How Zoom Clips Turns Meeting Overload into Async Momentum
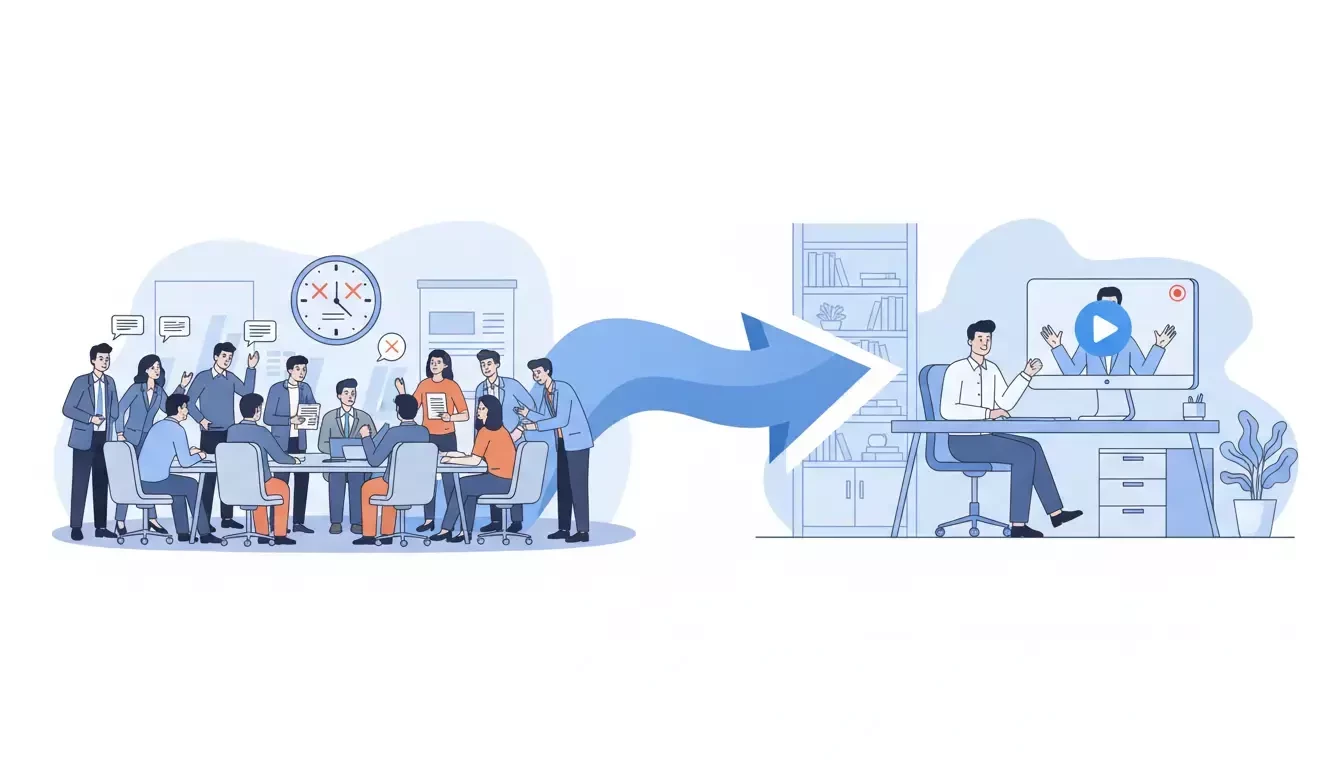
The meetings aren't always the problem. The default to live often is.
Most status updates, project walkthroughs, and weekly recaps are one-directional by nature. We don't always need everyone in the same room at the same time, but we schedule the meeting anyway. Spending time trying to schedule a time that works for eight people just to spend 30+ minutes delivering information that could have been watched in five.
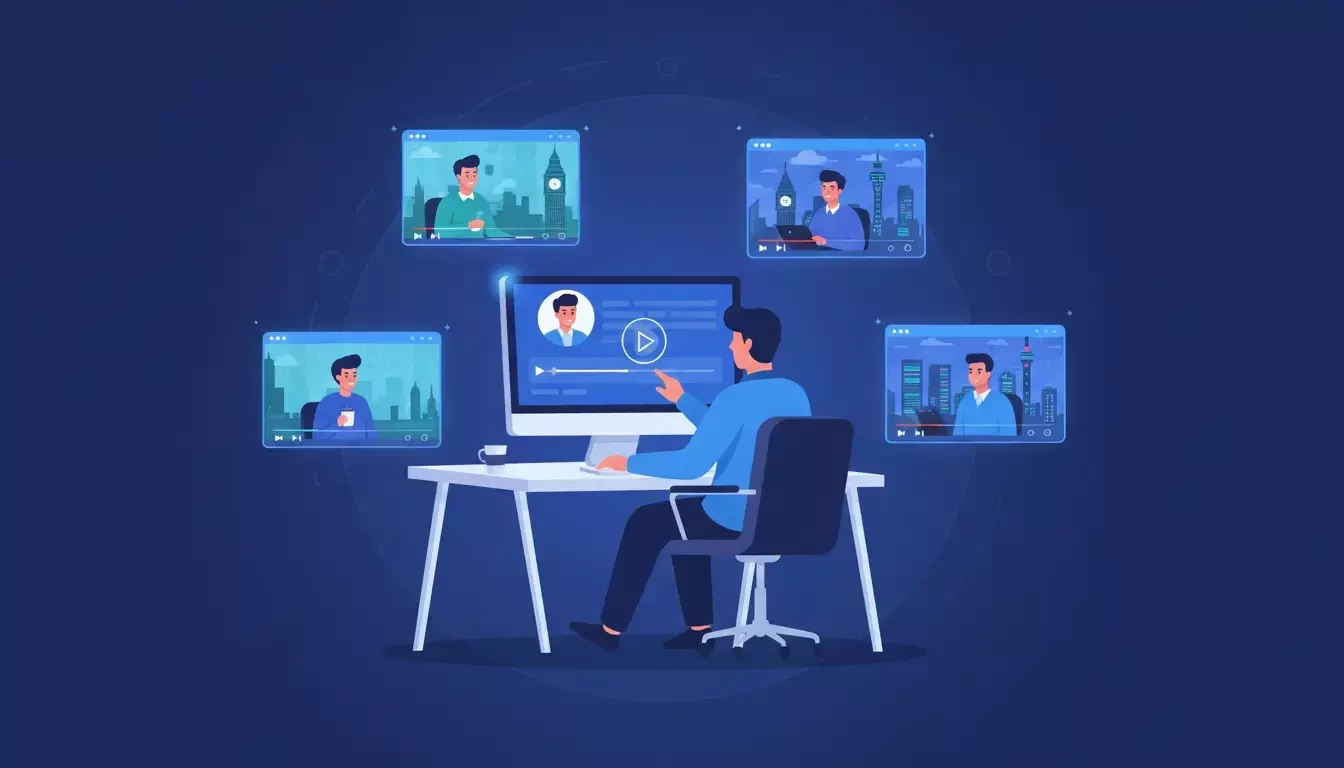
Zoom Clips offers a different path. It's an async video tool built directly into Zoom Workplace that lets you record short, purposeful videos — and share them with your team on their schedule, not yours.
Below you'll find two workflows that put it to work: one for the Manager or Team Lead looking to reclaim hours lost to recurring status meetings, and one for the Enablement or L&D Professional who needs to scale training without scheduling another live session.
What Is Zoom Clips?
Zoom Clips is an async video recording and sharing tool built into the Zoom Workplace platform. It lets you record your screen, your camera, or both then share the result as a link so anyone can watch on their own time.
Think of it as the bridge between a meeting and a message. Sometimes a Zoom Chat message isn't enough context, but a 30-minute meeting is too much. A two-minute Clip fills that gap: visual, personal, and watchable whenever the viewer is ready.
What makes Clips different from a regular recording? Intent. A Zoom meeting recording captures everything — the small talk, the tangents, the "can you see my screen?" moments. A Clip is purposeful. You record exactly what you want to communicate, trim it, title it, and share it. It's a durable artifact designed to replace the ephemeral parts of work that happen live.
The Core Features You Should Know
🎥 Recording Modes
Clips supports three recording formats to match your content:
Screen Only - Capture your screen with voiceover narration. Ideal for walkthroughs, demos, and tutorials.
Camera Only - Record yourself talking directly to the viewer. Great for personal updates, announcements, and feedback.
Screen + Camera - Show your screen with a picture-in-picture camera bubble. The best of both worlds for context-rich communication.
🤖 AI-Powered Enhancements
Zoom AI Companion can help generate titles, descriptions, chapters, and translated captions for your Clips. This means less time editing and more time creating content that can reach the right people.
✂️ Editing Tools
Trim unwanted sections, combine multiple segments into one Clip, add a custom thumbnail, and write a description. You can also stitch segments together, making it easy to update training content without re-recording the entire video.
🔐 Sharing & Permissions
Share via a direct link, embed in Chat or email, or restrict access to specific people. Password protection is available for sensitive content.
📈 Analytics Dashboard
Track who watched your Clip, how far they got, and how they reacted. This is especially valuable for training content so you can see whether people actually watched the onboarding walkthrough or just clicked the link.
💬 Reactions & Comments
Viewers can leave emoji reactions and threaded comments directly on the Clip. Creators can reply, turning a one-way video into an async conversation.
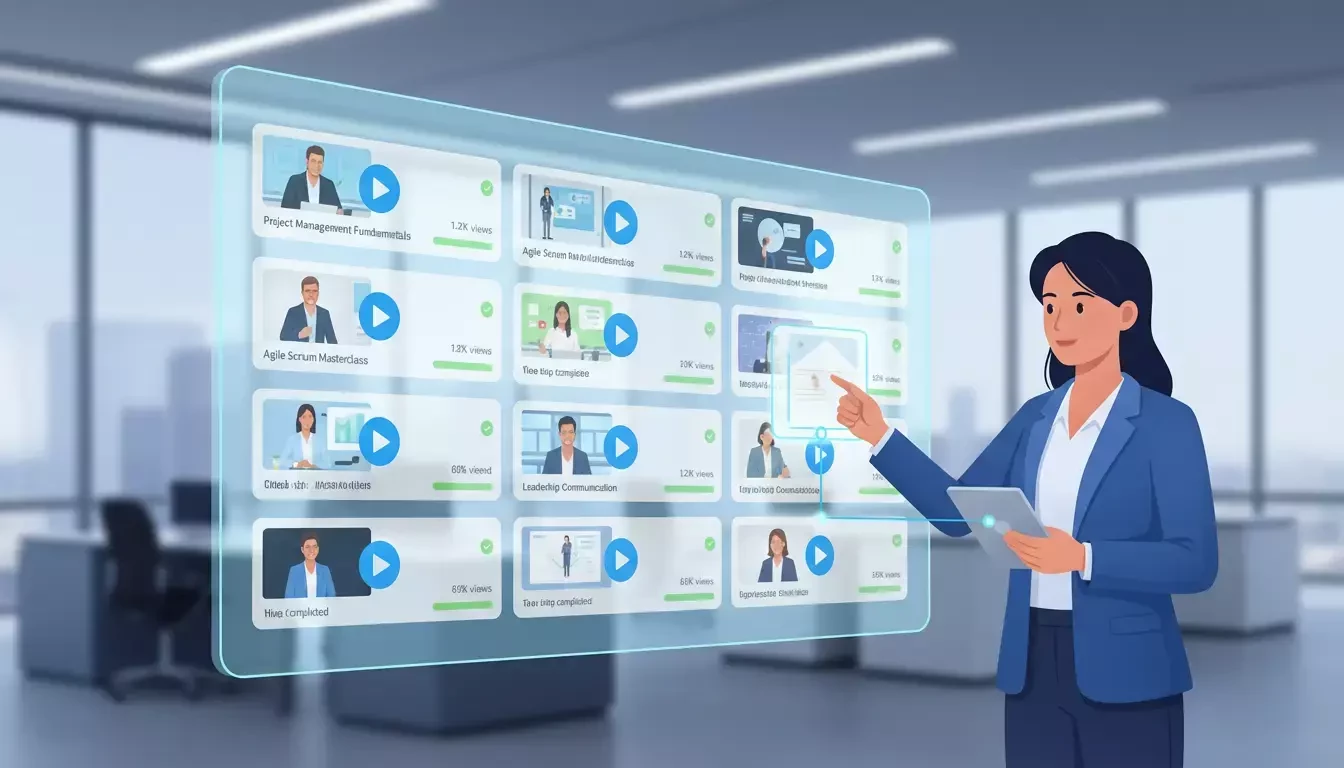
📚 Content Library
All your Clips live in a centralized, searchable library. Organize, tag, and find content without digging through chat threads or email attachments.
⭐ Recording Highlights
You can also create Clips from existing Zoom meeting recordings. Select a key segment, save it as a new Clip, and share just the relevant portion, turning a 60-minute recording into a focused 3-minute highlight.
Quick Start: Create Your First Clip in Under 5 Minutes
Getting started with Clips is fast. Here's how.
Step 1: Open Clips
In the Zoom desktop app, click the Clips tab in the left sidebar (or find it under More).
Step 2: Start a new Clip
Click New Clip. Choose your recording mode: Screen Only, Camera Only, or Screen + Camera.
Step 3: Adjust your settings
Select your audio source, camera, and screen area. You can apply a virtual background and enable noise suppression - the same quality tools you use in Zoom Meetings.
Step 4: Record. Click Start Recording
Use the floating toolbar to pause, annotate, or draw on screen. When you're done, click Stop.
Step 5: Edit and title
Trim any rough edges. Add a clear, descriptive title (e.g., "Q2 Sprint Update: April 15" or "How to Submit Expense Reports"). Write a brief description so viewers know what to expect.
Step 6: Share
Set your viewing permissions to organization-only, specific people, or anyone with the link. Copy the link and drop it in Chat, email, or wherever your team communicates.
That's it. You've just created a durable, reusable piece of communication that works on your team's schedule.
Clips for the Manager / Team Lead
❌ The Problem
You run a team of eight. Every Monday, you hold a 30-minute status meeting. Everyone dials in, gives a two-minute update, and listens to six other updates that may or may not be relevant to their work. Multiply that across the quarter, and your team has spent roughly 24 hours in status meetings; most of which could have been an email. Or better yet, a Clip.
The challenge isn't that updates don't matter. They do. The challenge is that synchronous delivery may not be the right format for sharing information. Status updates, project walkthroughs, and weekly recaps are one-directional by nature. They don't need everyone in the same room at the same time.
✅ The Solution: Replace the Status Meeting with a Clip
Zoom Clips lets you shift your team's update cadence from synchronous to asynchronous without losing the personal, visual context that makes video communication effective.
📅 The Manager Workflow: Week by Week
Monday morning — Record your weekly update: Instead of scheduling a team meeting, open Clips and record a 3-to-5-minute Screen + Camera Clip. Walk through the project board, highlight priorities for the week, flag any blockers, and call out wins from last week. Title it clearly: "Team Update: Week of April 14."
Share it in Chat: Drop the Clip link in your team's channel. Everyone watches it when they start their day whether that's 8 AM in Seattle or 4 PM in London. No scheduling conflicts. No "sorry, I have a conflict at that time."
Team members respond async: Viewers leave comments or reactions directly on the Clip. "Got it. I'll have the design ready by Wednesday." "Quick question about the Q3 timeline." The conversation happens in context, attached to the content, not buried in a separate chat thread.
Midweek — Handle exceptions live: Not everything should be async. If a blocker needs real-time problem-solving, schedule a focused 15-minute call with the people who need to be there. The key shift: meetings become the exception, not the default.
End of week — Review analytics: Check the Clips dashboard. Did everyone watch the update? Did the new team member engage with the onboarding Clip from last month? Use the data to adjust your communication approach.
💡 What This Looks Like Over a Quarter
If your Monday status meeting was 30 minutes with 8 people, that's 4 hours of collective time per week. Over a 12-week quarter, that's 48 hours of team time spent in one recurring meeting. Replace it with a 5-minute Clip that each person watches individually, and you've reclaimed the majority of that time for focused work.
The update still happens. The context is still shared. The difference is that it happens on each person's schedule, and the Clip lives on as a durable record anyone can reference later.
⚖️ When to Keep the Live Meeting
Clips work best for one-directional communication: updates, walkthroughs, recaps, and announcements. Keep live meetings for moments that require real-time interaction, brainstorming, decision-making, sensitive conversations, and collaborative problem-solving. The goal isn't to remove all meetings. It's to make sure every meeting that does happen actually needs to be live.
Clips for the Enablement / L&D Professional
❌ The Problem
You're responsible for onboarding new hires, training teams on new tools, and creating enablement content that scales across the organization. The traditional approach? Schedule a live training session, present the material, answer questions, and hope everyone retains it.
But here's what often happens: half the team has a scheduling conflict. The recording sits in a shared drive, unwatched. When someone joins the team three months later, they either get a stale recording with no context or you run the same session again. And again.
Live training is ephemeral by nature. The moment it ends, the knowledge starts to decay, unless it's captured in a format that's durable, discoverable, and reusable.
✅ The Solution: Build a Clips-Based Training Library
Zoom Clips lets you create modular, bite-sized training content that lives in a searchable library, can be updated without re-recording from scratch, and provides analytics so you know who's actually watching.
🏗️ The Enablement Workflow: Building and Scaling
Step 1 — Identify your core training modules
Map out the topics your team needs to cover: tool walkthroughs, process guides, product demos, compliance overviews, sales playbooks. Break each topic into focused segments: aim for 2 to 5 minutes per Clip.
Step 2 Record with structure
For each module, record a Screen + Camera Clip. Start with a brief intro ("This Clip covers how to submit expense reports in Workday"). Walk through the process on screen. End with a clear next step or call to action ("After watching this, submit a test report and tag me in the channel").
Step 3 Organize your library
Title each Clip descriptively and consistently. Use a naming convention like "[Onboarding] How to Set Up Your Zoom Profile" or "[Sales Enablement] CRM Pipeline Walkthrough." This makes the library searchable and browsable.
Step 4 Share at the right moment
Instead of scheduling a live session for every new hire, send them a curated playlist of Clips on Day 1. Drop specific Clips into Chat when a process question comes up. Embed Clips in your internal wiki or knowledge base.
Step 5 Update without starting over
When a process changes, you don't need to re-record the entire training. Zoom Clips lets you stitch segments together - record just the updated section and combine it with the existing content. Your training library stays current without a full production cycle.
Step 6 Measure engagement
Use the analytics dashboard to track views, completion rates, and reactions. If a Clip has low completion, it might be too long or unclear. If a Clip gets heavy comment activity, it might signal a process that needs more documentation. The data tells you where to invest your time.
🎓 Why This Matters for L&D
Traditional training is often a one-time event. A Clips-based library is like a living system. New hires get the same quality onboarding whether they start in January or July. Process changes propagate through updated Clips, not re-scheduled sessions. And the analytics give you something most L&D teams rarely have: visibility into whether people actually consumed the training.
This is the shift from ephemeral training events to durable enablement infrastructure — and it can scale without adding headcount or calendar hours.
Five Quick Wins to Try This Week (save this checklist!)
- Replace one status meeting with a Clip: Record a 3-minute update, share it in Chat, and cancel the meeting. See how your team responds.
- Turn a meeting recording into a highlight: Open a recent Zoom recording, select the key 3-minute segment, and save it as a new Clip. Share just the part that matters.
- Answer a repeated question with a Clip: The next time someone asks "how do I do X?" - record a quick screen walkthrough instead of typing out instructions. Save it for the next person who asks.
- Create one onboarding Clip: Pick the most common Day 1 question your team gets and record a Clip that answers it. Add it to your onboarding resources.
- Check your analytics: If you've already shared Clips, open the dashboard and see who watched, how far they got, and what reactions they left. Let the data guide your next Clip.
Where Zoom Clips Fits in the Bigger Picture
Zoom Clips is part of the broader Zoom Workplace ecosystem and it connects to the tools your team already uses. Share Clips in Chat for instant distribution. Use AI Companion to generate titles, chapters, and captions. Convert meeting recordings into focused Clip highlights. Pair Clips with Docs for written context alongside video walkthroughs.
This is the shift from ephemeral work → durable work. A status meeting disappears the moment it ends. A Clip persists as a watchable, searchable, shareable, and measurable asset. It turns a conversation that may have evaporated into an artifact that can continue to deliver value long after it was recorded.
For teams already using Zoom Workplace, Clips is the tool that bridges the gap between "we talked about it" and "here's the video, watch it when you're ready."
Get Started
Ready to try Zoom Clips?
→ Create your first Clip — It takes minutes.
→ Explore Zoom Clips settings — See the full feature set and recording options.
→ Creating clips with AI Companion custom avatars
For additional technical insights tailored to IT admins and decision makers, visit the Zoom Technical Library
Written by Jamie Jones, Zoom Product Adoption Expert, Zoom Workplace Meetings & Productivity Suite. For questions about this article or other Zoom Products, reach out via the Zoom Community or your Customer Success team.